How to Set Up Camp Like a Pro — A Beginners Guide for Grey Nomads
One of the most common things first-time grey nomads say after their first few trips is that setting up and packing down camp gets dramatically easier with practice. The first time takes an hour. By the tenth time, it takes fifteen minutes. But there’s no reason to learn everything the hard way — knowing what to do and in what order from the beginning makes the whole experience significantly more enjoyable from day one. Here’s a complete guide to setting up camp like a pro.
Before You Even Leave Home — Preparation Makes Everything Easier
The best camp setups start before you leave the driveway.
Pack in reverse order of need The items you’ll need first at camp — levelling blocks, power cable, water hose, chairs — should be the last things packed and therefore the first things accessible when you arrive. Many experienced grey nomads keep a dedicated “arrival kit” in an easy-access external storage bay.
Know your setup sequence before you arrive Having a mental checklist of your setup sequence means you’re not figuring it out tired after a long drive. The sequence covered in this guide is the one most experienced grey nomads settle on — but adapt it to your specific setup once you know your rig well.
Check your gear before you leave A few minutes checking that everything is working — awning, levelling jacks, power cable, water connections — before you leave saves the frustration of discovering a problem when you’re three hours from anywhere.
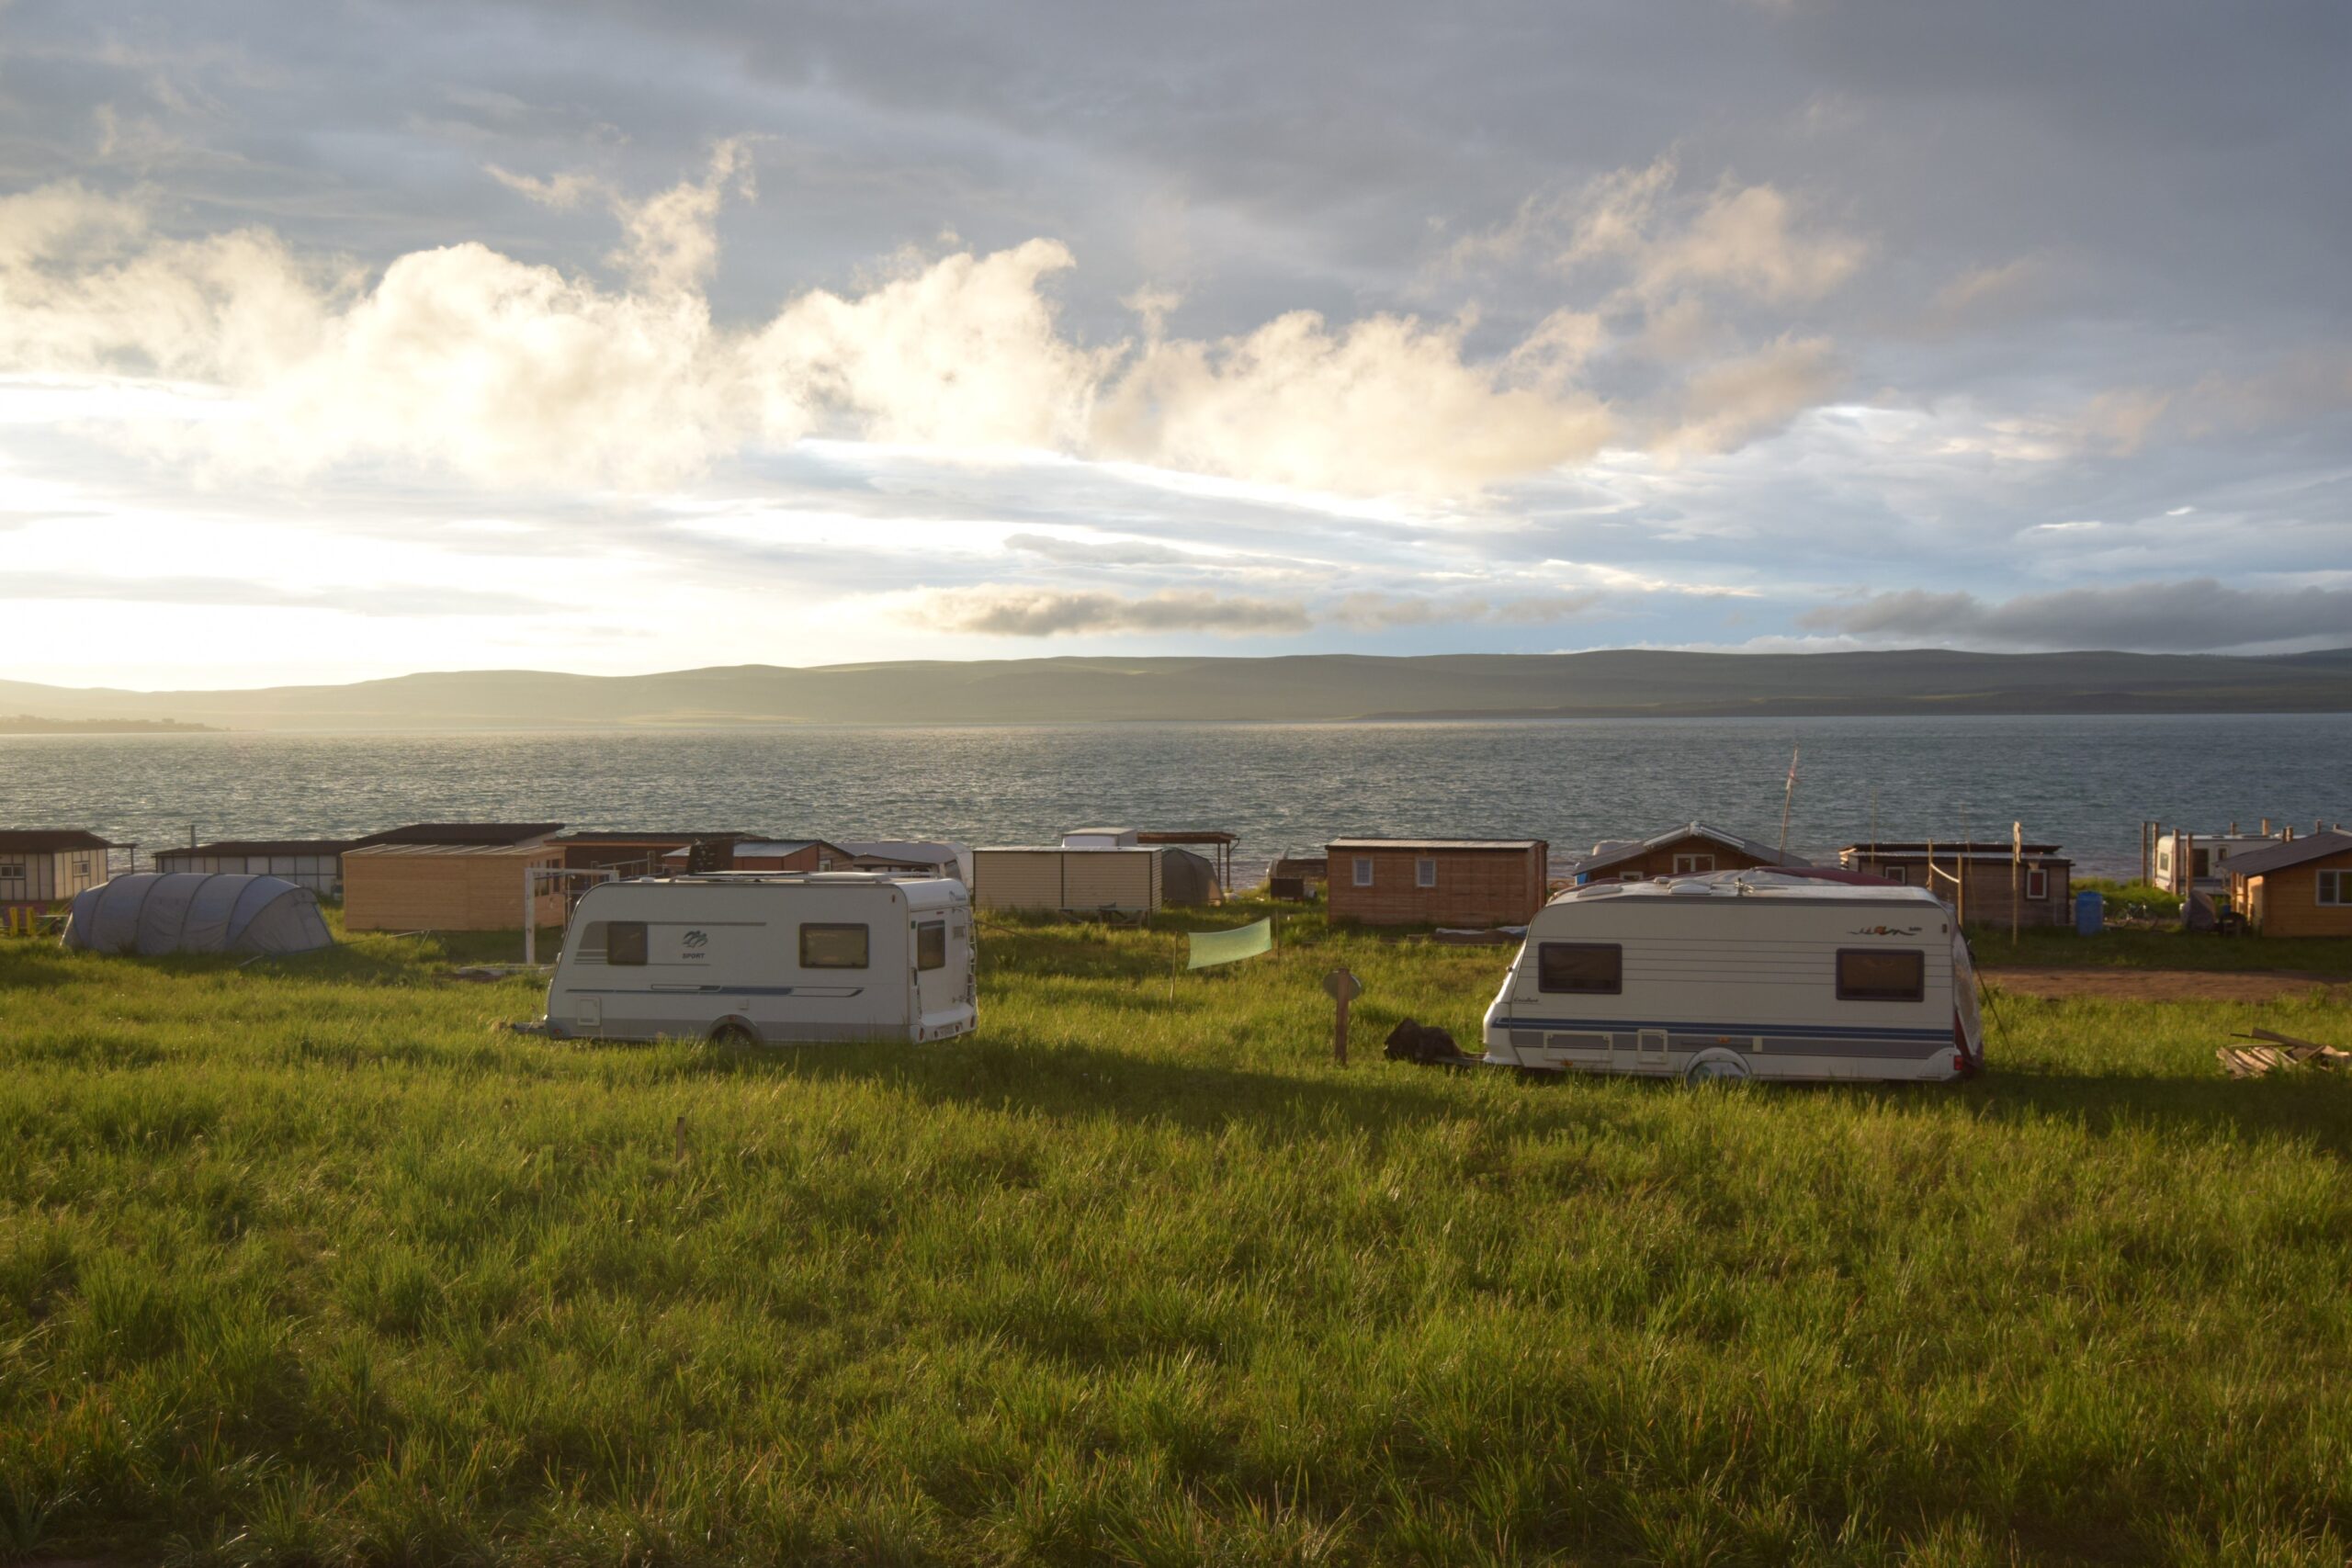
Step 1 — Choose Your Site Wisely
Arriving at a campsite and choosing the right spot is genuinely more important than most beginners appreciate.
What to look for:
- Level ground — or as close to level as possible. A slight slope is manageable with levelling blocks; a significant slope makes everything harder and less comfortable
- Shade — particularly in summer, a shaded site makes an enormous difference to comfort and to how hard your fridge has to work
- Ground surface — grass or gravel is preferable to sand or soft soil, which can make levelling and stabilising more difficult
- Proximity to amenities — close enough to be convenient, far enough away that you’re not disturbed by traffic to the amenities block at 6am
- Wind direction — position the awning side away from the prevailing wind where possible
- Neighbours — if the site allows choice, give yourself and others reasonable space
Before you commit to a site: Drive through slowly and assess your options rather than stopping at the first available spot. Two minutes of assessment saves significant frustration.
Step 2 — Position the Van Correctly First Time
Positioning the van correctly before you unhitch saves enormous effort — repositioning a hitched van is much easier than repositioning one that’s already been unhitched and stabilised.
The golden rule: Take your time positioning the van before you do anything else. Drive in slowly, assess the position, and adjust before unhitching rather than after.
What to aim for:
- The van roughly level side to side — use levelling blocks under the wheels if needed before you unhitch
- The door and awning on the most sheltered, accessible side
- Enough clearance around the van for the awning, slide-outs if applicable, and comfortable movement around the site
- Clear of any overhanging branches that could damage the van or awning
Levelling side to side: If one side needs to come up, drive the low side wheels up onto levelling blocks before unhitching. Get your partner to guide you and use a spirit level or the van’s built-in level indicator if it has one.
Step 3 — Unhitch and Level Front to Back
Once you’re happy with the position, unhitch the van and level it front to back using the jockey wheel or corner steadies.
The sequence:
- Apply the van’s handbrake or wheel chocks before unhitching
- Unhitch the tow ball coupling
- Disconnect the safety chains and electrical plug
- Wind the jockey wheel down until the van is level front to back — use a spirit level on the van’s floor or bench to check
- Lower the corner steadies to stabilise the van — these are stabilisers, not levellers, so don’t use them to lift the van
Why levelling matters: A level van makes sleeping more comfortable, keeps the fridge working efficiently (absorption fridges in particular need to be level to work properly), ensures drawers and doors operate correctly, and makes cooking on the stove top easier and safer.
Step 4 — Connect Power
If you’re at a powered site, connecting power is the next priority — particularly in hot weather where you want the air conditioning running as soon as possible.
The sequence:
- Check the power cable for any damage before plugging in
- Plug into the van first, then into the site power outlet — this sequence reduces the risk of sparking
- Check that power is live inside the van — lights, outlets, and appliances should work
- Coil any excess cable neatly rather than leaving it across the path
Power cable safety: Never leave a power cable coiled when in use — a coiled cable carrying current generates heat and is a fire risk. Uncoil it fully before use.
If you’re off-grid: Check your solar panels are connected and generating, your battery levels are adequate for the night, and your 12V appliances are running correctly off battery power.
Step 5 — Connect Water
For a powered site with water connection:
- Check the water hose and fittings for any damage
- Connect to the site water tap — most Australian caravan parks use a standard bayonet fitting
- Turn on slowly and check for leaks at both ends of the hose
- Check that water pressure is adequate — very high pressure can damage internal fittings, so use a water pressure regulator if your rig doesn’t have one built in
For free camping or sites without water: Check your onboard water tank level before arriving and ensure you have adequate water for your stay. As I wrote in why staying hydrated matters more than you think after 60 — carrying more water than you think you need is one of the most important preparation habits for remote camping.
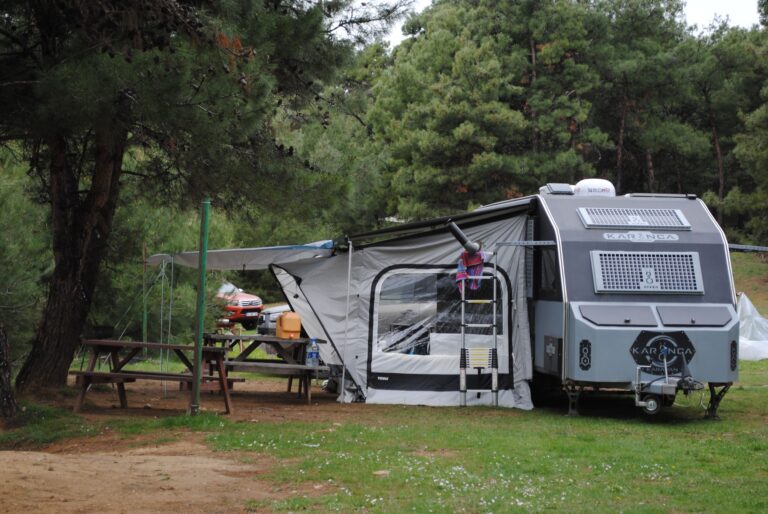
Step 6 — Set Up the Awning
The awning transforms your campsite from a parking spot into a genuinely comfortable outdoor living space — and is worth setting up even for a single night stay.
The sequence:
- Check wind conditions before deploying — never put out an awning in strong or gusty wind
- Extend the awning according to your specific model’s instructions — electric awnings are straightforward, manual awnings require a bit more technique
- Angle the awning slightly downward at the front to allow rain runoff
- Peg the awning legs into the ground with the awning pegs provided — this is genuinely important even in calm conditions, as wind can pick up unexpectedly
- Add shade cloth or an awning wall if you have one and conditions warrant it
Awning safety: The single most important awning habit to develop is rolling it in whenever you leave the campsite unattended and whenever weather threatens. An unexpected storm with an extended awning can cause serious damage to both the awning and the van.
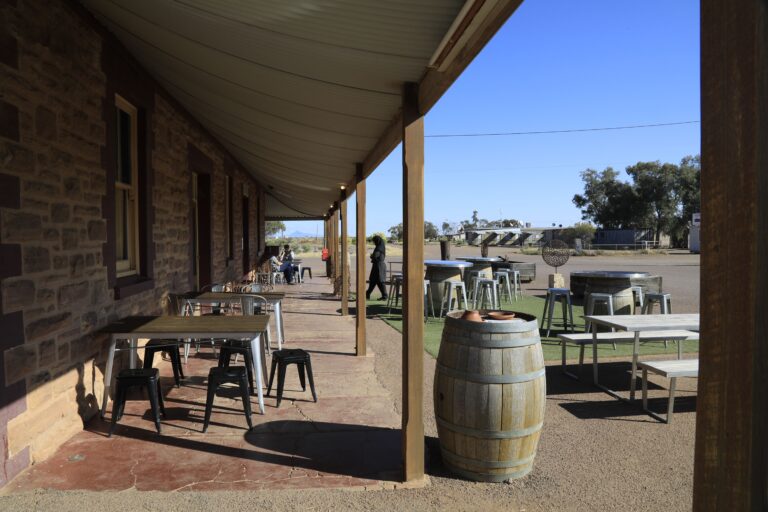
Step 7 — Set Up Your Outdoor Living Area
This is the step that turns a campsite into a home — and the one that experienced grey nomads have down to a fine art.
The basics:
- Set up your camp chairs and table under the awning
- Lay a mat or rug under the awning to define the outdoor living space and reduce dust and dirt tracked into the van
- Set up any outdoor lighting — fairy lights or a portable lantern make evening outdoor time significantly more enjoyable
- Set up the BBQ or camp stove in a safe, sheltered position
The extras that make a real difference:
- A small outdoor side table for drinks and snacks
- A portable fan for hot evenings under the awning
- A clothes airing rack if you’re staying more than one night
- A small doormat at the van entrance to reduce dirt tracked inside
Step 8 — Set Up Inside the Van
With the exterior sorted, a few quick interior setup tasks make the van feel immediately comfortable and liveable.
The quick interior checklist:
- Open windows and vents to air the van out after travelling
- Make the bed — doing this immediately means it’s done and the van feels like home straight away
- Set up the kitchen — unpack any perishables into the fridge, set up the coffee or tea station
- Check the hot water system is on if your van has one — some need to be switched on and given time to heat before you want a shower
- Check the toilet cassette level if you have an onboard toilet
Step 9 — Do a Final Safety and Comfort Check
Before you put the kettle on and enjoy the fruits of your labour, a quick final check takes two minutes and prevents problems.
Final check list:
- ✅ Van level and stable — no wobble when moving around inside
- ✅ Power connected and working
- ✅ Water connected and no leaks
- ✅ Awning secure and pegged
- ✅ Wheel chocks in place
- ✅ Tow vehicle parked clear of the van
- ✅ Fire safety — know where the nearest water source is and that you comply with any fire restrictions at the site
- ✅ Phone charged and signal checked — know what to do if you need help
Pack Down — Doing It in Reverse
Packing down efficiently is the other half of the equation — and the one that separates the experienced grey nomad from the beginner.
The golden rules of pack down:
Check the weather before you start If rain is forecast, time your pack down to avoid packing a wet awning — a wet awning packed away will mildew. If you must pack it wet, air it out at the next campsite as soon as possible.
Work outside in first Pack down the outdoor living area before the awning, and the awning before you start on the van’s interior and connections. This keeps the sequence logical and prevents packing things you still need.
The pack down sequence:
- Pack away outdoor furniture, mat, and accessories
- Roll in the awning — check it’s completely dry first if possible
- Disconnect and coil the power cable — unplug from the site first, then from the van
- Disconnect the water hose — drain it before coiling to prevent mildew
- Raise the corner steadies
- Hitch up — check the coupling is secure, safety chains connected, and lights working
- Final walk around the site — check nothing has been left behind, check the ground for any items under the van
The walk around habit: Experienced grey nomads do a full walk around the van before driving away — checking clearance, that all bay doors are locked, awning is fully retracted, and that nothing has been left at the site. It takes 60 seconds and prevents the heartbreak of driving away with a bay door open or an item left behind.
Common Beginner Mistakes Worth Avoiding
Rushing the levelling A poorly levelled van affects sleep, the fridge, the stove, and general comfort. Two extra minutes getting the level right pays dividends all night.
Forgetting to chock the wheels Wheel chocks are essential before unhitching — a van rolling even slightly can cause serious damage or injury.
Leaving the awning out unattended This is the most common and most costly beginner mistake. Roll it in every time you leave and every time weather approaches.
Packing the power cable while it’s still coiled Always uncoil before use to prevent heat buildup and potential fire risk.
Not doing a final site check before driving away Left-behind gear, open bay doors, and partially retracted awnings are all entirely preventable with a 60-second walk around.
The Bottom Line
Setting up and packing down camp efficiently is a skill that develops quickly with practice — and having a consistent sequence makes the whole process genuinely enjoyable rather than stressful.
The first few times will take longer than expected. By the tenth time, it’ll feel completely natural. And by the hundredth time, you’ll wonder why it ever felt complicated.
As I wrote in how to plan a Big Lap of Australia — the grey nomads who enjoy the lifestyle most are almost always the ones who invested time in learning the basics properly at the beginning rather than figuring it out under pressure on the road.
What’s your best camp setup tip? Share it in The Good Years Club community — your experience could make a first-time grey nomad’s trip so much better 💙
👉 Join The Good Years Club Community — https://www.facebook.com/share/g/1Fw4FHNpJr/